Salutations NIFS blog followers! Welcome back! In part 1, I discussed how to perform effective pushups, improved treadmill walking efficiency, and a more challenging way to do the classic bicep curl, making these more effective exercises. Understandably, we all have our own idea of what a workout should look like, which exercises work best, and which exercises make us almost want to quit. Here I continue our mission to take your fitness knowledge library to the next level.
4. Behind-the-Head Lat Pull-Downs
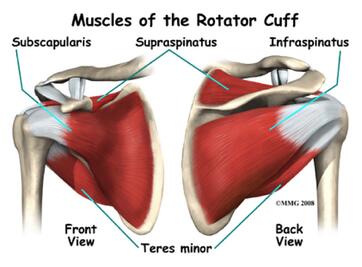
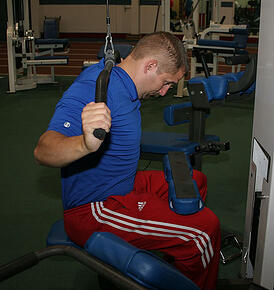
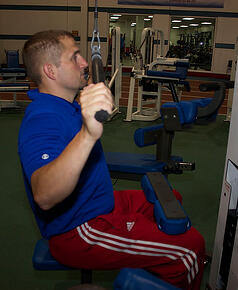
In most gyms, a good trainer will tell you not to perform a behind-the-head pull-down, but we must ask ourselves, “why not?” If you have the luxury of having a good trainer, they will tell you it is because it is bad for your rotator cuffs, which is mostly true. I feel that even if you are doing this exercise and not experiencing pain, it’s still not a natural movement for your body to perform.
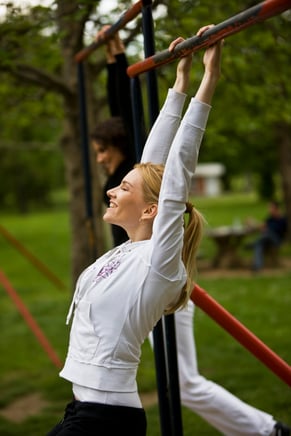
I recommend doing a standard lat pull-down, in which the bar comes to about eye level (or the bottoms of the arms are parallel to the floor) in front of the face. Not only will this be a safer movement, it is more akin to what your end goal could be: standard pull-ups.
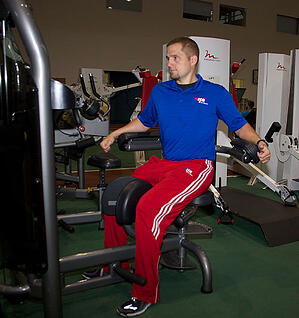
5. Weighted Torso Rotation Machine
The idea here is simple: Train your core like any other muscle group with the ease of a machine. The bad news is that your spine and disks in your back aren’t meant to be under that kind of stress, which can be a big problem for individuals with weaker cores. I would avoid this machine if possible and replace the exercise with some modern gym science.
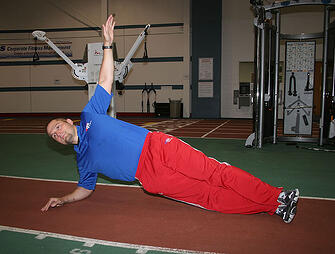
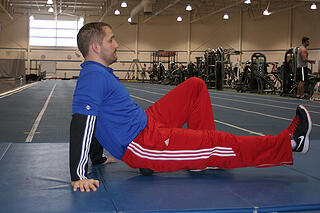
One option is a side plank reach. While performing a side plank, reach through the space between your body and the floor. Our core can respond to mobility training, but this requires stability as well, making for one tough exercise. No weights are required, and you can modify by going to one knee on the bottom side.
6. Stability Ball Bench Press
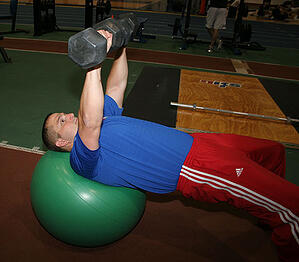
Of all the exercises we will discuss, the stability ball bench press may be considered one of the most dangerous. The idea of using a stability ball is appealing for individuals who want to get the most out of their training and improve core strength and balance, but what they do not realize is that there is a stability ball weight capacity. The ball is intended to support your body weight, not your body weight plus 75-pound dumbbells. If you are a 200-pound person using 150 pounds of weight on a stability ball with a capacity of 350 pounds, you can easily see where the danger arises. In a worst-case scenario, the ball bursts, you end up with a broken back, and life won’t be the same again.
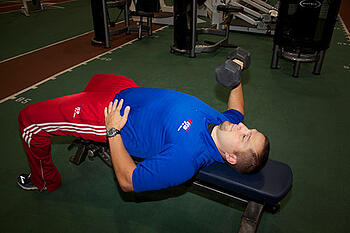
If you are interested in a good core challenge while doing bench press, try single-arm dumbbell press on a normal flat bench. It’s the same as traditional dumbbell bench press, except with only one dumbbell. To counteract the imbalance on the bench, your core has to work just that much more to stay on the bench. Be sure to do both sides.
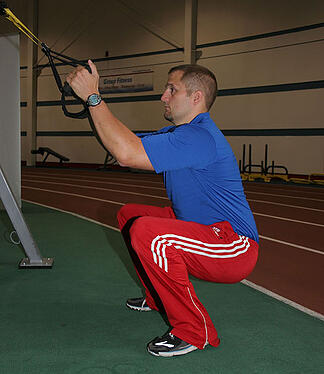
7. Knees-over-the-Toes Squat
The idea that squatting over the toes is bad dates back many years, almost so long ago that a lot of people have no idea why it’s bad. A common misconception is that it causes way too much stress on the knee and could cause injury. This can’t be 100 percent true because in day-to-day life as well as athletic performances, we track our knees over our toes, and many times it will be in a higher-stress event such as doing heavy yard work or scrimmaging in volleyball. The underlying problem with knees-over-the-toes squats is the tendency to lean forward as we squat, which shifts our hips out of position and in turn our back out of alignment.
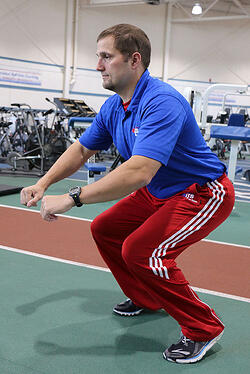
For starters, I would start over, developing a new squat pattern from the ground up, known as a primitive squat. A primitive squat, not unlike what our ancestors used for day-to-day tasks, is a good place to begin reprogramming your lower body. Use a TRX for assistance and squat as low as possible without weight, pausing at the bottom for a brief moment. Stay back on your heels as though you are sitting in a chair. If you are experiencing tightness, hang out at the bottom of the squat to stretch and loosen up the muscles. As unnatural as it feels, primitive squats are one of the most natural exercise positions your body will ever be in and will also help if you are invited to have a cultural dinner experience in Tokyo.
This concludes part 2 of “10 Better Ways to Do 10 Exercises.” As you can see, there are many topics to discuss. Skip to Part 3 for exercises 8 through 10: the dangers of rotating shoulder shrugs, are weighted sit-ups worthwhile, and what can a kip pull-up do for me? Until next time, muscle heads rejoice and evolve!
This blog was written by Thomas Livengood, Health Fitness Specialist at NIFS. To find out more about the NIFS bloggers click here.

 Whether you’re a competitive athlete, a weekend warrior, or the casual gym-goer, addressing mobility concerns can go a long way toward performance enhancement and injury prevention. If a joint is unable to move through a complete range of motion unloaded, then it’s going to be “bad news bears” when it comes to putting that same joint under any external load. Eventually, limited mobility could lead to muscular imbalances and compensation patterns, which could ultimately lead to the onset of injury. In other words, you can’t look to build strength on top of dysfunction.
  Here are a few specific examples of band-distracted mobility drills:
 In my experience over the years working with folks from all walks of life to help improve their strength, mobility, performance, and overall fitness I have found that so many suffer from immobility in two major joints: the ankle and the shoulder, which is the focus of this piece. Lifestyle, occupation, inactivity, and overtraining are all culprits robbing so many of healthy range of motion in the shoulder and shoulder girdle.
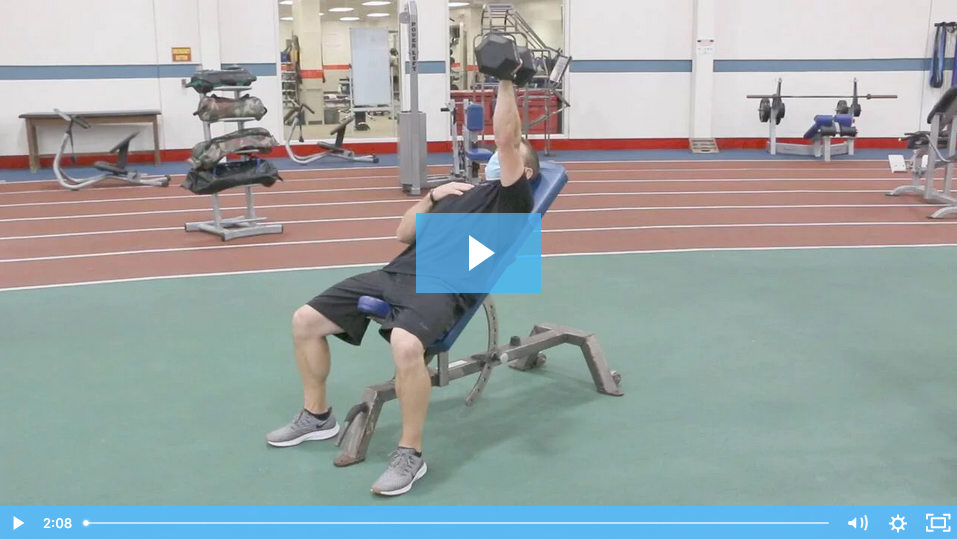
 How many times have you looked around a room full of people and seen nearly everyone buried in their phones? Their shoulders are slumped forward and their head is hung low. Or maybe you’re at work, and everyone’s busy composing emails with that same forward head position? Chances are, it won’t be long before you notice this posture elsewhere, and it can wreak havoc when it comes to the health of your shoulders.
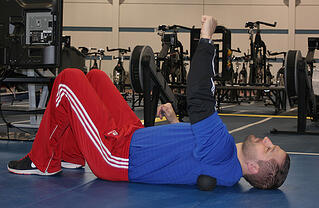
 you are targeting).
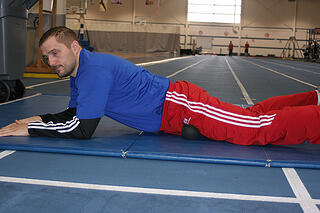
 move pretty well at one test, it will eventually find a restriction or asymmetry/imbalance at some point if you have any. Our job is to identify any weaknesses, limitations, imbalances, or asymmetries so that we can immediately prescribe you a corrective strategy to reduce your chance for injury and increase fitness results.