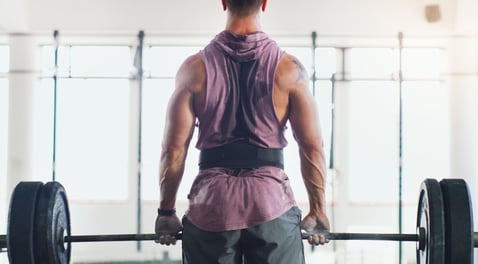
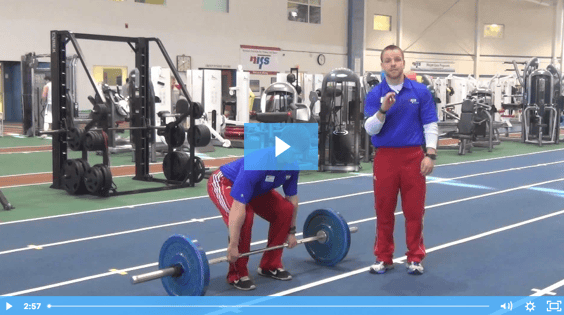
 If you are like most people who enjoy lifting weights, you probably have worn a weight belt or own a cool one that helped you get that new squat max deadlift PR, But did you really NEED it? Most of the time we follow what we see others do, which is fine, but remember: everyone is different, and you could be slowing down your own progress by cinching that belt on extra tight every time you feel the need to go heavy.
What Exactly Is That Weight Belt for, Anyway?
A weightlifting belt serves to assist in creating more intra-abdominal pressure. The belt provides the lifter reinforcement when they breathe-brace or create pressure in the torso by exhaling and contracting the abdominal wall before externally loading the spine (picking up the weight). However, if the lifter does not breathe-brace, and instead tries to create pressure by tightening the belt too much and or bulges the abdominal wall out to touch the inner ring of the belt to feel secure, the abdominal pressure is significantly less, stability of the truck and spine is decreased, and now that weight belt is more of corset (a fashion statement) than a lifting tool.
Am I Saying You Should Stop Using a Weight Belt?
No. If you do not have trouble bracing and lifting without a belt up to 80 percent of your 1-rep max, you can stop reading. However, try testing your ability to breathe-brace first, before you determine your need for a weight belt. You can even put this breathe-brace activity into your warm-up to make sure everything is good to go.
The Breathe-Brace Test
Supine
- Lay flat on your back with legs bent and feet flat on the floor. Place one hand on your belly, and the other on your chest. Take about four deep breaths. The air can be inhaled through the nose and exhaled through the nose, or in through the nose and out the mouth through pursed lips. On each inhale, use your belly to make the hand on it rise as high as you can (hopefully higher than the hand on your chest). When you exhale, blow out as much air as you can while pulling your belly in tight (the belly hand should sink toward the floor).
- Once you have done four deep breaths, take one more, and this time when you exhale, as you blow the air out and the belly hand sinks toward the floor, contract your abdominals (you may even notice a tilting of your rib cage down toward your belly button) as you use your belly to push the air out. If you can stiffen your abs without bulging your belly out, you’ve got it!
Prone
- Lay flat on your belly with legs straight. You will need something soft to place under your belly (an ABMAT or folded towel) because it will replace your hand in this method.
- You can place your hands down at your sides, long above your head, or use them as a rest for your forehead.
- Similar to the supine method, take about four deep breaths. While inhaling, push your belly out to feel the mat underneath you. When you exhale, blow as much air out as you can by pulling your belly in tight away from the floor.
- Finally, take one more breath in. This time, as you blow out and pull your belly away from the mat, contract your abs. You may again notice your rib cage tilting down slightly toward your belly button.
This breathing method is encouraged by yoga enthusiasts, but is very effective in the weightlifting realm as well.
Once you have mastered the method on the ground, try doing it while standing. Then take it to the lifting platform or rack. You will notice over time you have more stability, and less spinal flexion and extension throughout heavy lifting, and you are now strengthening the muscles you need to brace and stabilize your spine before using a weight belt. Mastering your breathing and core control will make it easier to find the correct tightness on your weight belt when the time comes.
Don’t Use a Belt to Work Around a Problem
Lastly, we all should have the goal to move without assistance from any sort of crutch or brace, and a weight belt should not be used to work around a problem simply to lift heavy. Work on your breathe-brace skill, and you may only need your weight belt for those big-time lifts, and of course to show off occasionally!
This blog was written by Keith Hopkins, MS, MA, CSCS, USAW. To read more about the NIFS bloggers, click here.


 With the sport of powerlifting taking off in the last couple of years, more and more people are taking up the sport as a hobby and to improve their overall fitness levels. Training to improve strength in the squat, bench, and deadlift is a great way to improve total body strength and improve body composition.