<img height="1" width="1" style="display:none" src="https://www.facebook.com/tr?id=424649934352787&amp;ev=PageView&amp;noscript=1">

NIFS Healthy Living Blog

Readiness and Durability: Better Movement Warmups for Fitness Training

GettyImages-1191766401_low resI used to work at a golf course during my time as a teacher. It was a great way to spend my summers and be close to a game I truly enjoy playing. I mainly mowed greens and tees and dug a bunch of holes. I really enjoyed that time of my life very much. On all of the mowers there was a sign that read, “If this equipment can’t work, nor can you.” I think the message is self-explanatory: if the equipment is not properly cared for, it is a very good possibility it will stop working, leading to loss of productivity and failure to complete the job.

I believe the same can be said for our approach to preparing the body for training so that the body (equipment) can work when you need it to accomplish the job at hand. The most critical step in this process is changing the perception of the “warmup” as a secondary or unnecessary part of a training program—something you can skip if you are short on time. In actuality, warmups should be a major part of your training program (if you are truly looking for results, that is).

Long ago I adopted, both for the people I work with and for my personal workouts, a process from a great coach on preparing the body for work. It involves four exercises in four major categories of movement preparation: mobility, stability, core engagement, and loco-motor (dynamic stretches and small plyometrics). For obvious reasons, this is referred to as a 4x4 approach to physical readiness and preparation.

Mobility Drills

Mobility drills refers to the exercises aimed at gaining and enhancing the range of motion in a particular joint. With a joint-by-joint, ground-up approach, these drills typically work to tackle mobility of the ankle, hip, thoracic and cervical spine, and shoulder. Here at NIFS, we work to mobilize movement patterns that involve these joints, and others, which we evaluate in a Functional Movement Screen.

Here are just two of my favorite mobility drills:

i. 1/2K—Abducted T-Spine Rotation
ii. Dynamic Pigeon—Knee & Foot


Wistia video thumbnail


Stability Drills

These drills work to help stabilize the mobility you just gained with the preceding drills. A mobile joint is a great start, but then you must stabilize it with exercises that will aid in alignment and strength of the joint. These exercises are generally used immediately after the mobility work to help in the retention of the alignment and position we are hoping to obtain. Check out a couple of these drills that you can add to your 4x4 warmup.

i. Band Lat. Walks
ii. Split Squat w/ Band Pull-apart


Wistia video thumbnail


Core Drills

Exercises in this phase of our preparation are to “fire up” the core to stabilize the trunk before loading the body with all the great tools we use in strength training and conditioning. A common practice is to save the “ab work” for last during your training session, which is all fine and good, but adding these to your 4x4 work before a weight is lifted can help your performance. A strong, “awake” center will keep you safe during your exercises and allow you to get the most out of them at the same time.

i. Foam Roller Dead Bug with Ext.
ii. Side plank and row


Wistia video thumbnail


Loco-motor Drills

After mobilizing and stabilizing the system, now it’s time to energize it! These drills are used to increase the body and tissue temperature that will prepare your body for the strength and conditioning work that lies ahead. These drills are typically fast and fun, and can combine some dynamic stretching with basic calisthenics. These can be as simple as a jumping jack or lateral lunges, or these two gems:

i. Snowboarders
ii. Sprinter Lunge


Wistia video thumbnail

***

To prepare your body for work and to limit the chances of injury, you must perform a proper warmup. No more skipping a major part of your training session! As soon as you begin to look at the 4x4 warmup as a must-do, the harder it will be to work without it.

Like what you've just read? Click here to subscribe to our blog!

This blog was written by Tony Maloney, ACSM Certified Exercise Physiologist and Fitness Center Manager. To find out more about the NIFS bloggers, click here.

Topics: functional training core videos warmups mobility movement stability loco-motor drills

Powerlifting Prep Lesson #3: The Deadlift

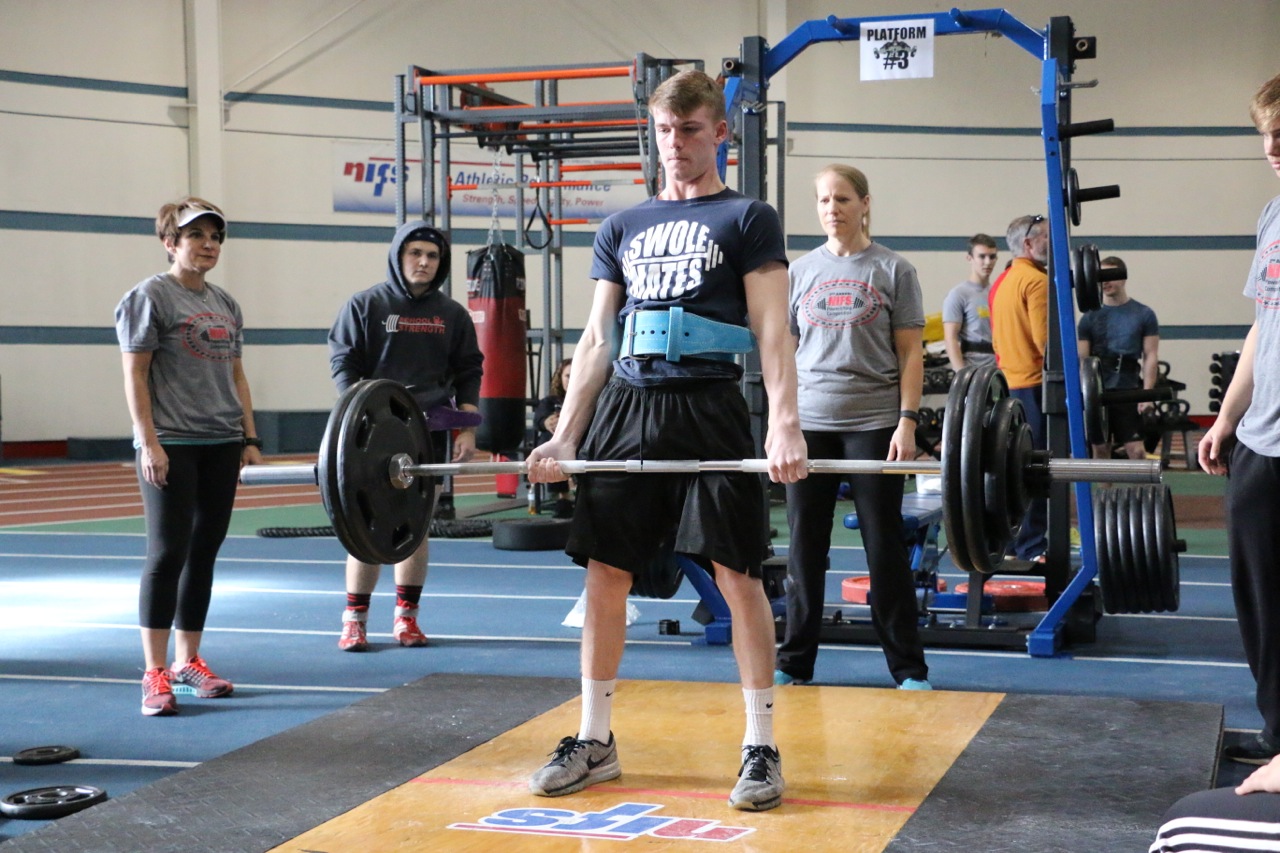
IMG_4534.jpgIn my previous posts, Powerlifting Prep Lesson #1: The Squat and Powerlifting Prep Lesson #2: The Bench, we took a look at how managing the three key principles of mobility, stability, and tension can have a huge impact on your ability to perform those two lifts at a high level while decreasing the chance of injury. We turn now to the big daddy of them all, the deadlift!

This hinging/pulling lift is easily one of the most popular lifts on the planet, and everybody wants to pull a huge bar from the ground and slam it back down. There really is no feeling like it. And not only does it look pretty cool on Instagram, the deadlift is one of the most functional exercises you can do that transfers very nicely to the outside world. Since the dawn of time we have picked up heavy things and set them back down, essentially doing deadlifts day in and day out. In the powerlifting world, the deadlift is where champions can be forged, or injuries suffered.

So let’s break down this giant lift, focusing on the three key principles introduced earlier:

  • Mobility: The full range of motion of a particular joint(s).
  • Stability: Alignment, with integrity, under load.
  • Tension: Defined with terms such as stiffness and phrases like “bending the bar,” and “spread the floor.”

Mobility

You might think that mobility would not play a big role in this lift, but like most weightlifting movements, it’s imperative. I hope I have done a good job in this series of posts to stress that it all starts with mobility. Strength, power, endurance, and any physical attribute must start at mobility, if you want to be the best that there is. The deadlift is no exception; and if you can’t touch your toes, you probably need to take a few steps back before heavy loading the deadlift.

The deadlift is a hinge pattern, so we will start there by focusing on the active straight-leg raise to monitor and improve the mobility of that pattern. A great place to start is with a leg-lower exercise or a kettlebell butt touch exercise to help improve your mobility for the deadlift.

Stability

For stability, take one more look at the active straight-leg-raise pattern to ensure you capture the mobility you gained through the two movements described above. The lying leg raise with core activation looks a lot like the leg-lowering exercise from above, as it should, but here you are adding stability to the mobility you just gained. Trunk stability is key in the deadlift; without it, spines tend to hyper-flex and lead to injury. Planks and plank variations are always a great place to start, as well as loaded carries and dynamic-stability movements such as a sandbag plank drag to challenge and train the musculature of the trunk so you can pull more weight safely.

Next, and just as with the squat and the bench, intra-abdominal pressure will also be key in pulling the most weight possible. Remember to “fill the can” by inhaling fully and pressing the air against your belt during the set-up and first phase of the deadlift. This again will help fire all of the muscles of the trunk to provide maximum stability during the lift. If you want to learn more about breathing and stability in loaded movements, check out this article from Mike Reinold as he breaks down this concept even more.

Tension

Tension in the deadlift starts with grip! Many studies correlate grip strength to overall strength, so the stronger the grip the bigger the deadlift. Loaded carries and all the variations are my go-to to help train grip strength as well as any pulling motions such as chin-ups and inverted rows.

In the other two lifts I referred to “bending the bar” as a cue to create tension in the system (body) during the lift. In the deadlift, I want you to think about taking that tension out of the bar by preloading the system before pulling the bar from the ground. Pull the bar toward your body without it leaving the ground; you should hear the plates make a kind of clicking noise. This will fire the lats and other spinal musculature to brace before accepting the load of the bar. Ideally in doing so, your entire body will move as one system, like a crane lifting a two-ton I-beam. This will make you a stronger unit to pull the bar off the ground and help eliminate hyper-flexing in the spine that can lead to a bad injury.

***

Executed correctly, the deadlift is a super-functional and super strength-building exercise. It is also one of the more exciting lifts in any powerlifting competition, and it’s sure to make some noise once again at the NIFS 5th Annual Powerlifting Competition coming up on November 10. Registration is full, but you should still come out and support all the athletes competing. It is a great show of strength, competition, and sportsmanship and great way to spend a Saturday morning in November!

Like what you've just read? Click here to subscribe to our blog!

This blog was written by Tony Maloney, ACSM Certified Exercise Physiologist and Fitness Center Manager. To find out more about the NIFS bloggers, click here.

Topics: NIFS weightlifting powerlifting competition mobility deadlift stability tension

Powerlifting Prep Lesson #2: The Bench Press

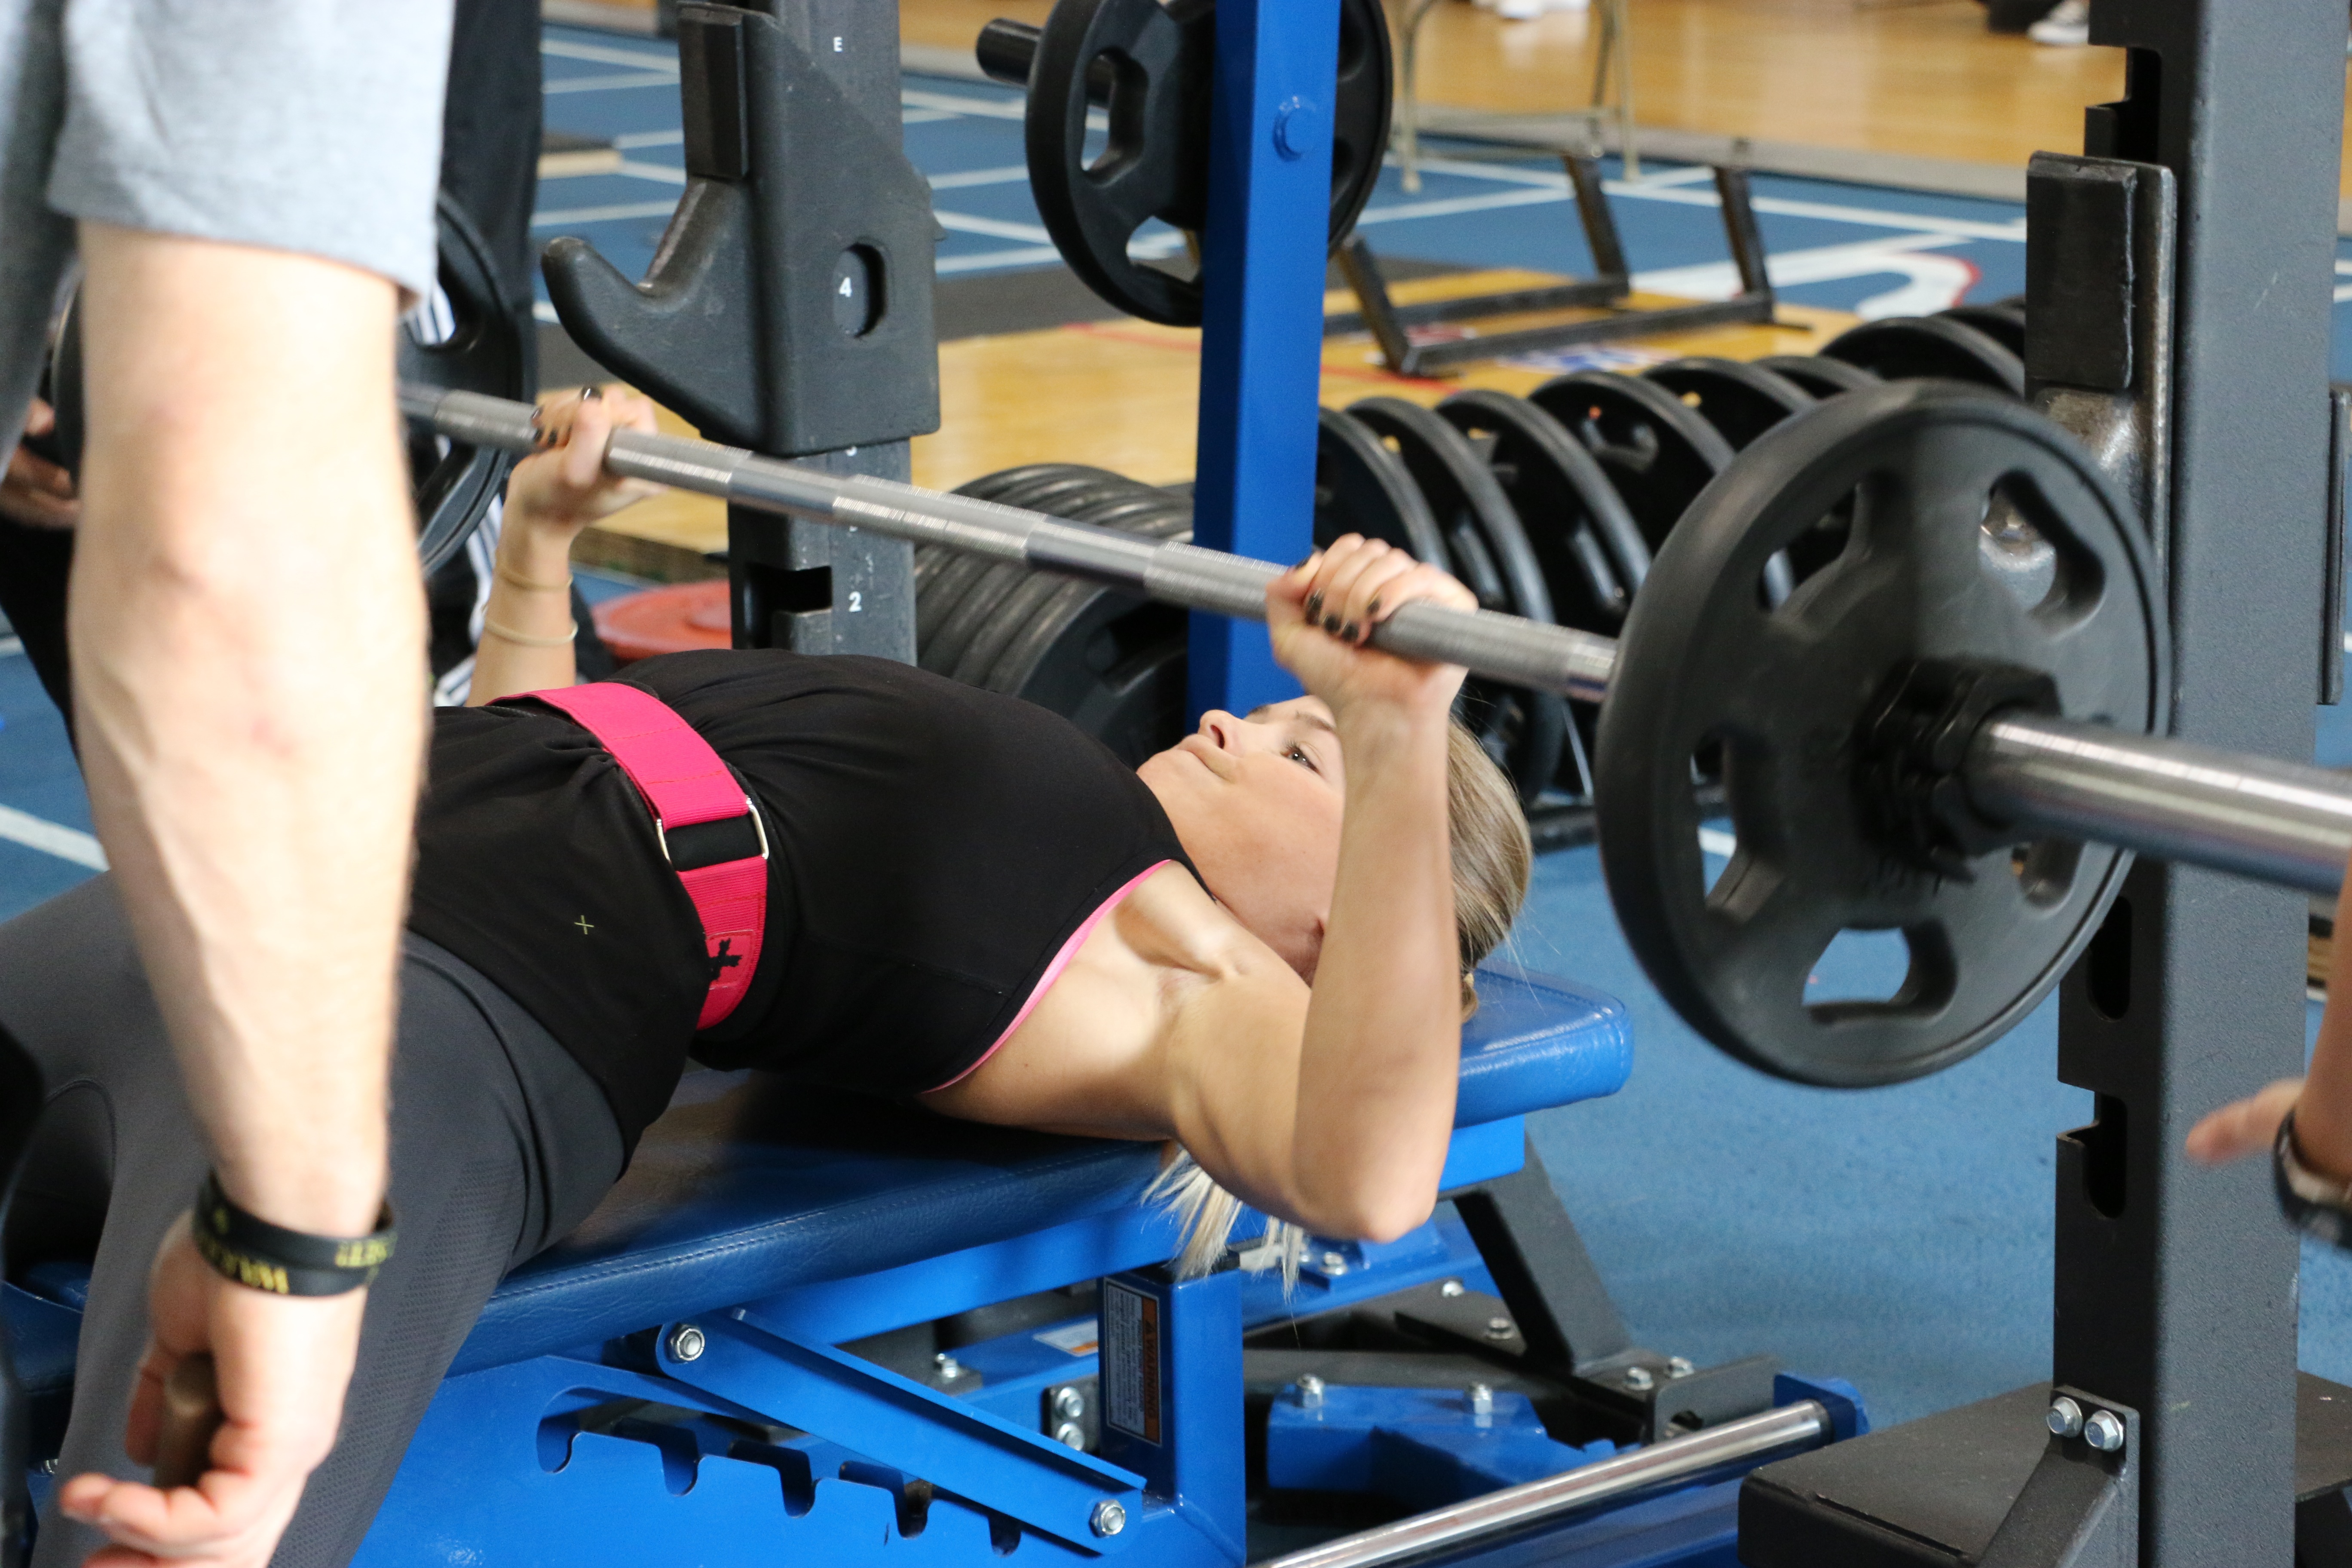
attachment.jpgIn my previous post, NIFS Powerlifting Competition Prep Lesson #1: The Squat, I showed you how managing three key principles can have a huge impact on your ability to squat low and heavy as well as minimize the risk for injury. As a reminder, here are those three key principles:

  • Mobility: The full range of motion of a particular joint(s)
  • Stability: Alignment, with integrity, under load.
  • Tension: Defined with terms such as stiffness and phrases like “bending the bar” and “spread the floor.”

Once again I will break down each of these principles and apply them to the next big lift, the bench press. First, be sure to check off your list a few of the basics of the bench press when you are setting up for your next set. As soon as you are up to speed on those weightlifting basics, take a look at how these three principles can impact your bench and how to work to improve your performance.

Mobility

In the bench press, this principle is generally focused around the mobility of the shoulder complex and thoracic spine. I could argue the effects of immobile hips, but we will save that for another time. The ability of the shoulder to pass through the full range of a pressing motion will play one of the biggest roles in determining your success. Just as with the squat, I would strongly recommend starting with soft tissue work of the lats, pecs, and upper back. Utilize different tools like a foam roller, or a tennis or lacrosse ball depending on your level of tightness.

After mashing the tissue surrounding the shoulder complex, the next step is to perform some active stretching of the shoulder area. This can be as simple as basic arm circles and a door stretch or a quadruped t-spine rotation exercise. One of my favorites for shoulder mobility is the hang. Get to a pull-up bar, grasp it with an overhand grip, and hang from it. Take long, controlled breaths while you hang with longer, more forced exhalation. Start with these or any other drills for the shoulder and upper body and you will increase your rate of success in the bench.

Stability

Trunk stability and core strength play a major role in this lift. To help strengthen the muscles of the trunk, I like to keep things simple by performing planks and plank progressions like the RKC plank. Secondly, and just as with the squat, intra-abdominal pressure is also key in the bench press. “Filling the can” with air is the best way to set this principle in motion. Before lowering the bar to the chest, inhale fully, attempting to fill your entire trunk with air (wearing a belt here helps). Hold that breath and lower the bar with the “can full” and explode from the chest.

Placing your feet flat on the ground will also add stability to the system. Even if you need to have some risers like me, get your feet flat on the ground. This helps with keeping your back flat on the bench, allowing you to utilize the trunk to do its job: to stabilize you.

One more thing: stabilize the shoulders with external rotating of the shoulder by “dialing” your hands outwardly like you were turning two large radio knobs (those still exist, right?). Stabilize the mobility you gained from the previous drills and really pack a punch in your bench press.

Tension

“Bending the bar” is a phrase introduced in the preceding post about the squat, and it holds just as much weight in the bench as well. During your setup, you want to act as if you are actively bending the bar before lowering it to your chest. This will create tension in the lats, shoulder complex, and upper back. This tension, as you will see more with the deadlift in the next post, allows the body to move as a “stiff” unit, expressing the greatest amount of strength during this phase. You can also increase tension by pushing your heels through the ground, another reason to have your feet flat on the ground during the pressing motion. Creating tension from the onset of the lift is what will separate a good lift from a failed lift.

***

The only secrets to a bigger bench are the principles I have listed above. These are standards to performing at a higher level and will allow your body to respond to heavier and heavier weights. Implement even a few of the suggestions from above and feel the difference.

Like what you've just read? Click here to subscribe to our blog!

This blog was written by Tony Maloney, ACSM Certified Exercise Physiologist and Fitness Center Manager. To find out more about the NIFS bloggers, click here.

Topics: NIFS weightlifting powerlifting competition mobility stability tension bench press

NIFS Powerlifting Prep Lesson #1: The Squat

If you have never entered a powerlifting competition but are interested in competing for the first time, it's a high-energy, exciting celebration of strength. Many enter with the goal of dominating their weight class as well as grabbing that coveted top male or female trophy and being Champion.

Powerlifting 2018 DeadliftIf you are one of the athletes who want to throw their hat into the ring, I want to give you three key principles that will help you be the best you can be on event day for each of the three lifts. Those lifts, of course, are the squat, bench, and deadlift. Today we will focus on the squat. We will get to the other two soon, so keep an eye on the NIFS blog. You can improve by using these three key principles, whether you are a competitor or a spectator.

We will look at the same three weightlifting principles for each of the lifts, but each concept will be aimed specifically for each of the three different movement patterns. I learned long ago that principles should guide not only your training, but also your life. And as it relates to movement, variations of movement patterns may change, but the principles to train it will not.

The three key principles we will focus on for each of the lifts are

  • Mobility: The full range of motion of a particular joint(s).
  • Stability: Alignment, with integrity, under load. (A great lesson from Gray Cook that I learned in a workshop once.)
  • Tension: For our context in this and the two following posts, we will define tension as the word stiffness and explain phrases like “bending the bar” and “spread the floor.”

All three of these principles will directly impact how well you perform in each of the three lifts in specific ways. Let’s see how these can impact your squat and how to work to make things better.

Mobility

In the squat, and the back squat specifically, we continue to find the lack of ankle mobility to be a huge factor in how deep you can go and how much weight you can throw on your back. In a July article by Gray Cook (if you can’t tell, I learn a lot from him), Gray explains the importance of knowing your ability to flex your ankle and how it can disrupt the chain. Come see us and we can provide that screen for you. Improving your ankle mobility is a sure-fire way to improve your squat. The first step would be to do some soft-tissue work on the calf and surrounding areas using a foam roller, roller stick, or tennis/lacrosse ball. A simple drill that I would recommend is a wall ankle flexion drill, which you will perform in a few different directions.

Place your hands on a wall with one foot approximately 2–3 inches away from the wall and stagger the other foot behind you. While keeping the heel of the front foot “glued” to the ground, attempt to touch the wall with that same-side knee. Hold the position for a 2 count, return to the start position, and repeat for 4–5 more reps. Then aim that same side knee over your big toe and repeat for 5–6 reps, and then again but with your knee aimed out over your pinky toe. Switch legs and repeat the series. If you can touch the wall with your knee and your heel stays on the ground, move back one inch. The goal is to increase the degree of flexion in your ankle. You can measure your progress by how far from the wall your foot is.

Stability

Considering that powerlifters place huge amounts of weight on their shoulders and pretty much sit down and stand up, spinal stability is so important in performing technically sound and safe squats. Of course, planks and carries are great exercises to strengthen your trunk muscles, which will help prepare you for squatting, but what about during an actual mid-weight squat? Increase your intra-abdominal pressure by bracing your abdominal and low-back muscles. A great way to accomplish this is by wearing a belt. Tighten the belt and push your entire midsection against it, then squat. The belt also provides its own stability by reducing spinal flexion, or bending over. Lastly, wearing a belt is a requirement during competition, so if you are not training with one, you’d better get on it.

Tension

Tension, or stiffness in a lifter, is key when loading up the body with a challenging load. Without it, safety is at risk as well as success in completing the lift. “Bending the bar” is a phrase we use where a lifter will attempt to bend the bar on their shoulders by pulling the bar down with their hands. This, as they say, will take tension out of the bar and stiffen the lifter to move as one complete unit. Another major benefit of this cue is engaging the lats of the back by pulling the bar around your shoulders to help engage the glutes, which are key muscles in a strong squat. The lats connect to the glutes, the only muscle that connects the upper and lower body. Simply put, by creating tension in the lats, you increase the effectiveness of your butt.

The other cue that will increase tension in a lifter, specifically in the glutes, will be to “spread the floor” with your feet. Once in position and before you squat, feel as if you are trying to create space between your feet by pushing the floor away. Your position should not change, but your tension surely will. Maintain spreading the floor throughout the squat to reap the full benefits of this strategy.

***

So squat on, athletes, using mobility, stability, and tension to improve your positioning, which will ultimately lead to bigger lifts. Stay tuned as we break down the bench and the deadlift, focusing again on these key aspects.

Come watch our 6th Annual Powerlifting Competition here at NIFS, Saturday, November 9th at 9am.

Like what you've just read? Click here to subscribe to our blog!

This blog was written by Tony Maloney, ACSM Certified Exercise Physiologist and Fitness Center Manager. To find out more about the NIFS bloggers, click here.


Topics: NIFS weightlifting powerlifting competition glutes mobility movement squat stability tension